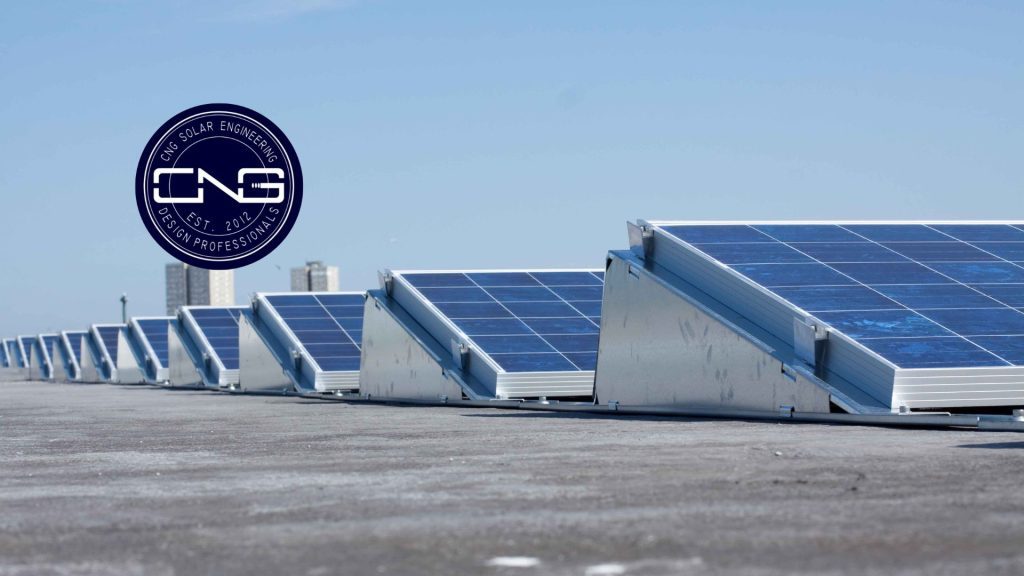
Commercial solar panels installations are more than just a technical process – they represent a commitment to a sustainable future.
In recent years, the shift towards renewable energy sources has gained significant momentum, and solar power is at the forefront of this movement.
Businesses across the United States are increasingly turning to solar panels to not only reduce their carbon footprint but also to save on energy costs.
San Diego, with its abundant sunshine, is a prime location for such installations.
In this blog, we will take you through the step-by-step process of installing solar panels, highlighting the key considerations and benefits.

Step 1: Initial Consultation
The journey towards successful commercial solar panels installations begins with an initial consultation between the business owner and reputable installers.
In San Diego, several experienced companies specialize in solar installations and offer free consultations.
During this meeting, the business owner’s energy needs and goals are discussed, and the feasibility of a solar power system is assessed.
Factors such as the available roof space, orientation, and local weather patterns are taken into account.
Step 2: Site Assessment
Once it’s determined that solar power is a viable option, the next step is a detailed site assessment.
This involves a visit to the business premises by commercial solar installers to gather essential data.
They will assess the condition of the roof or any other potential installation area, measure available space, and determine the best angle for solar panels to capture maximum sunlight.
Step 3: Design and Proposal
Based on the information gathered during the site assessment, the solar installation company will design a customized solar power system for the business.
For ease and convenience, the installation company can also opt to partner with solar engineering companies to handle the design phase. This design includes the number and placement of solar panels, inverters, and other necessary components.
A proposal is then presented to the business owner, outlining the system’s specifications, expected performance, and estimated return on investment (ROI).
Step 4: Permits and Approvals
Before installation can begin, the commercial solar installers will work with local authorities to secure the necessary permits and approvals. This ensures that the solar power system complies with local building codes and regulations.
In San Diego, this typically involves obtaining permits from the City’s Development Services Department.
Step 5: Commercial Solar Panels Installations
With permits in hand, the installation team can begin the physical installation of the solar panels. This process involves several key steps:
a. Roof Preparation: If the solar panels are being installed on the roof, it may be necessary to reinforce or repair the roof structure to support the added weight. This ensures the safety and longevity of the installation.
b. Mounting: Solar panel mounting brackets or racks are securely attached to the roof or ground, depending on the installation type. These provide a stable foundation for the panels.
c. Wiring: Electrical wiring is installed to connect the solar panels to the inverters and the building’s electrical system. This step is crucial for converting the captured sunlight into usable electricity.
d. Panel Installation: Solar panels are then attached to the mounting brackets or racks, and carefully positioned to optimize sunlight exposure. The panels are securely fastened to withstand wind and other environmental factors.
e. Inverter Installation: Inverters are installed to convert the direct current (DC) electricity generated by the panels into alternating current (AC) electricity, which can be used to power the business.
f. Testing: After installation, the system undergoes thorough testing to ensure all components are functioning correctly. This includes checking for any wiring or connection issues.
Step 6: Inspection and Interconnection
Once the installation is complete, a final inspection is conducted by the local utility company or an independent inspector. This is to ensure the system complies with safety and performance standards.
After passing inspection, the solar power system is interconnected with the utility grid. This will allow the business to feed excess electricity back into the grid and receive credits for it.
Step 7: Monitoring and Maintenance
After the solar power system is up and running, it’s crucial to monitor its performance regularly.
Many solar installation companies offer monitoring services to track energy production and identify any issues promptly.
Routine maintenance, such as cleaning the panels and checking for wear and tear, is also essential to maximize the system’s lifespan and efficiency.
Let CNG’s Team Handle the Solar System Designing!
Are you a solar installer aiming to provide top-notch solar solutions to your clients? If yes, then partner with CNG Solar Engineering today! Our team has extensive experience in designing efficient and effective solar power systems, tailored to meet the specific needs of each of your clients.
Reach out now to discuss how we can work together to revolutionize the commercial solar panels installations landscape!
CNG Solar Engineering
Book now for a free estimate
BOOK NOW
